Adaptation Guidelines
If you want to adapt OPanel for the new game version, please read this article carefully.
To begin with
Please follow the steps in the Contributing Guidelines to fork the repository, download the source code, and install dependencies before proceeding with adaptation development.
Select the version to adapt
You can check which versions of OPanel are currently not supported in the Platform and Version Support section. Since some game versions are mutually compatible, we do not create separate adaptations for every single version. Instead, we adapt to the lowest version that can be forward compatible (for example, the module fabric-1.21 supports 1.21~1.21.1, and the module fabric-1.21.2 supports 1.21.2~1.21.4). A new module is only created for separate adaptation when there are differences in the adaptation code or incompatibility issues. Therefore, you can first choose a major version that you want to adapt to and that OPanel does not currently support (such as 1.19.x, 1.20.x, etc.), then start adapting from the first release of that major version (such as 1.19 or 1.20, etc.), and then determine the version range supported by the new module through actual server testing.
Below, we will use adapting to Fabric 1.20.4 as an example to explain how to adapt to other game versions.
Create Module
- In Intellij IDEA, right-click the OPanel project and create a new module.

- In the pop-up window, name the module using the format
<server>-<game version>. In this example, the module should be namedfabric-1.20.4.
Note
If the compatible server is Bukkit, then you should enter spigot in the server column, for example: spigot-1.20. Both Spigot and Folia modules should be placed under the bukkit folder.
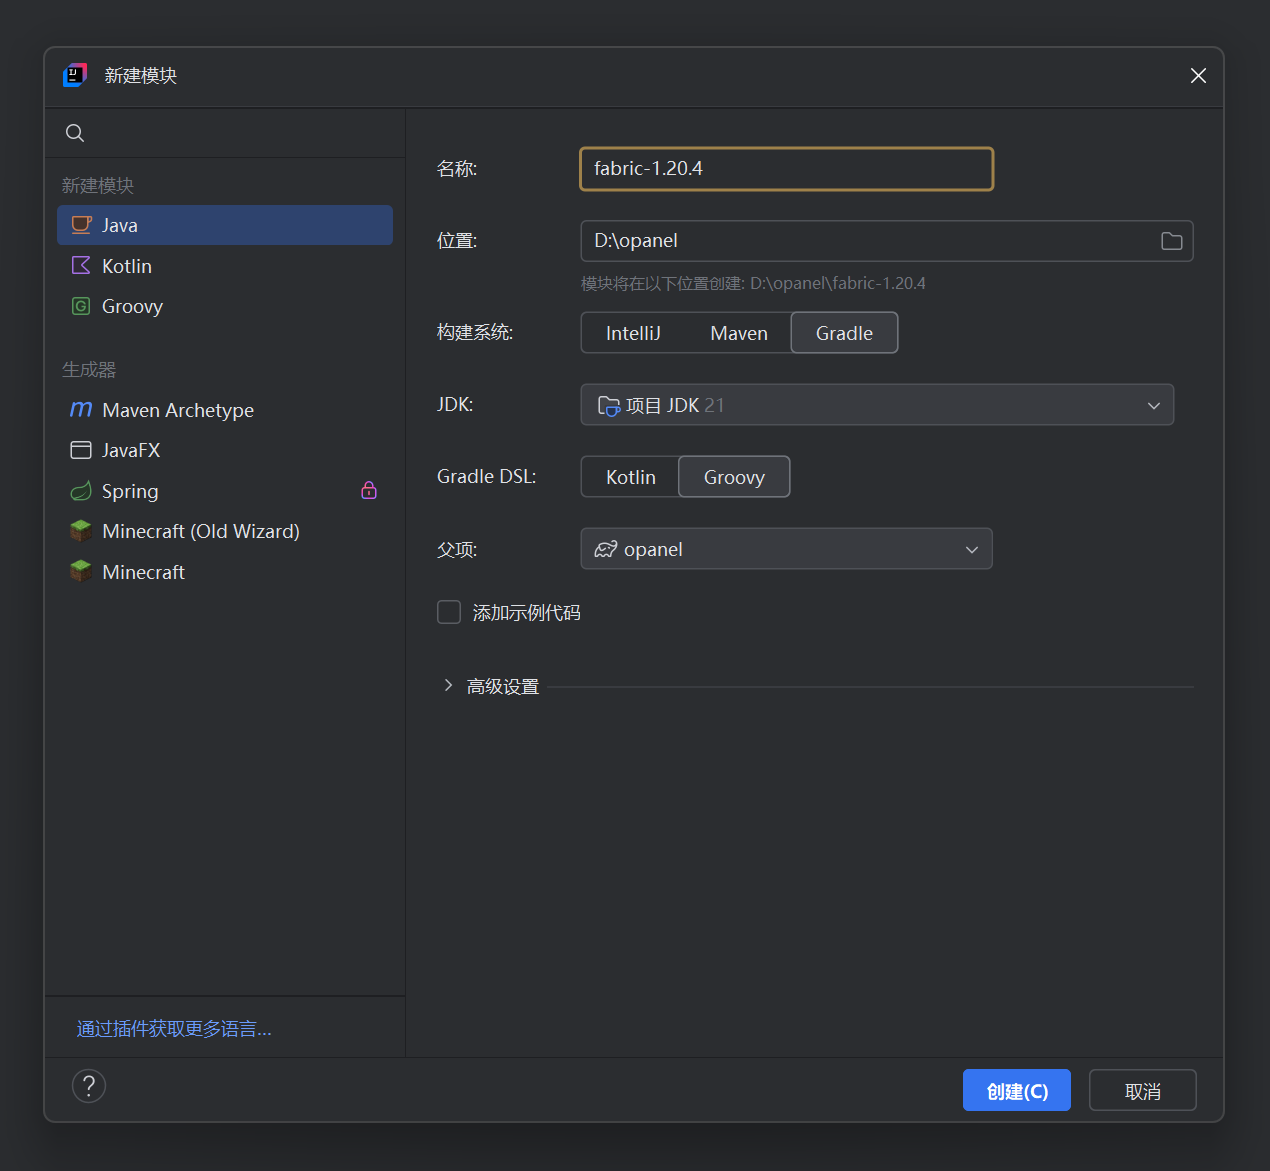
Change the module's location. In this example, the fabric-1.20.4 module should be placed inside the fabric folder.
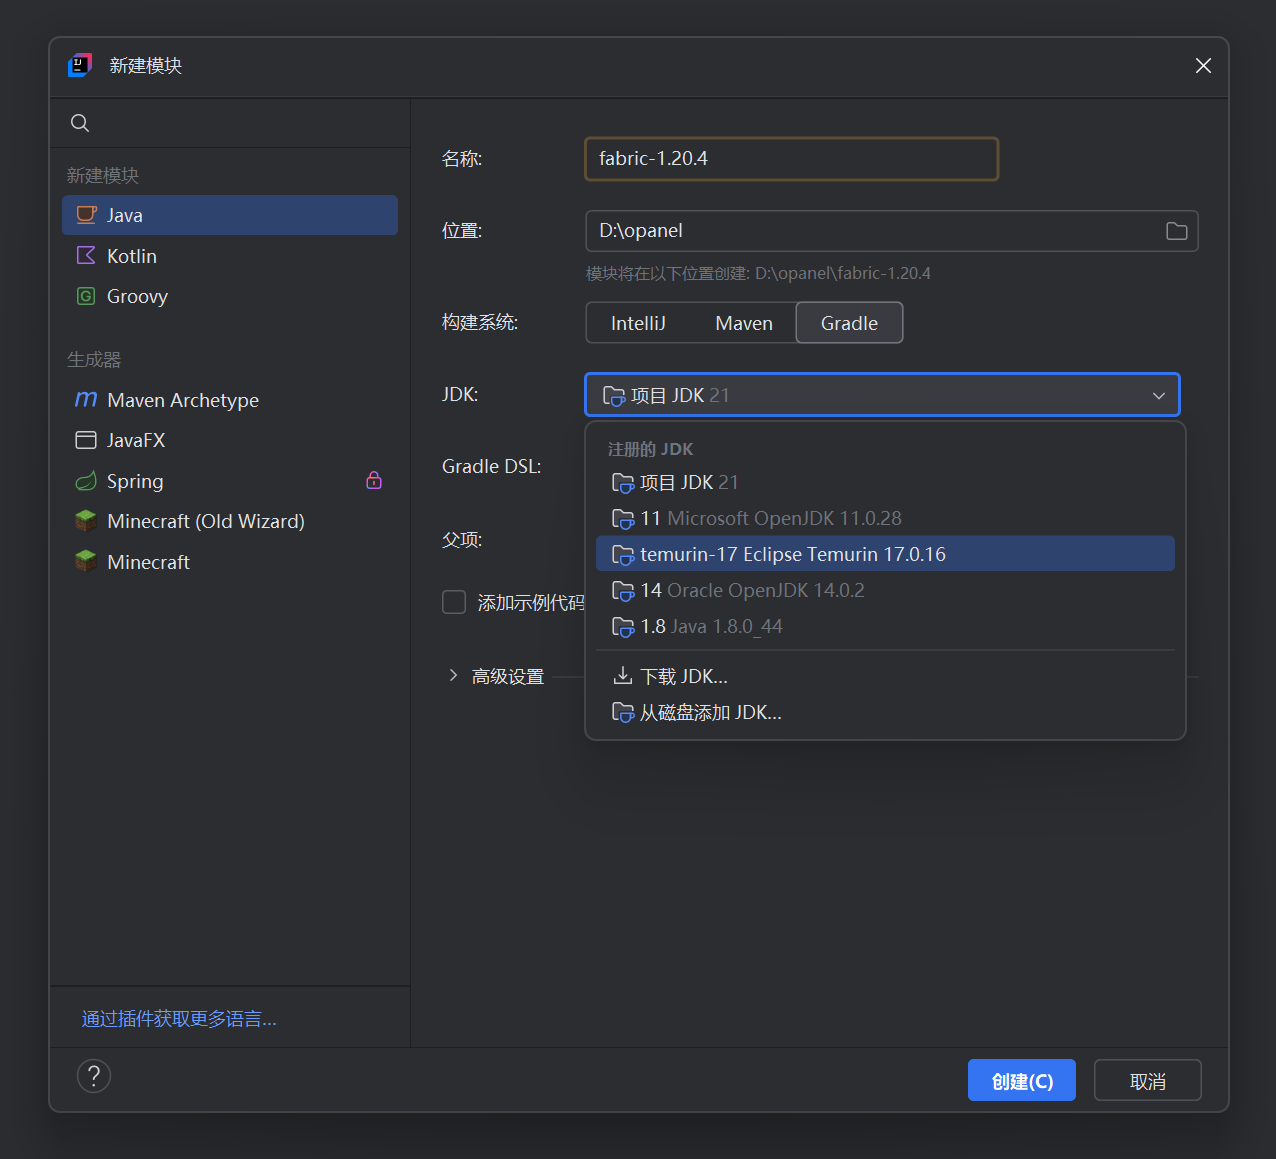
Since different Minecraft versions may use different Java versions, the corresponding JDK version should be selected under the JDK section. In this example, the Java version for Minecraft 1.20.4 is 17, so JDK 17 should be selected in the JDK section.
TIP
You can check the Java versions used by different Minecraft versions on the Minecraft Wiki.
After completing the settings, click Create (C) to create the module.
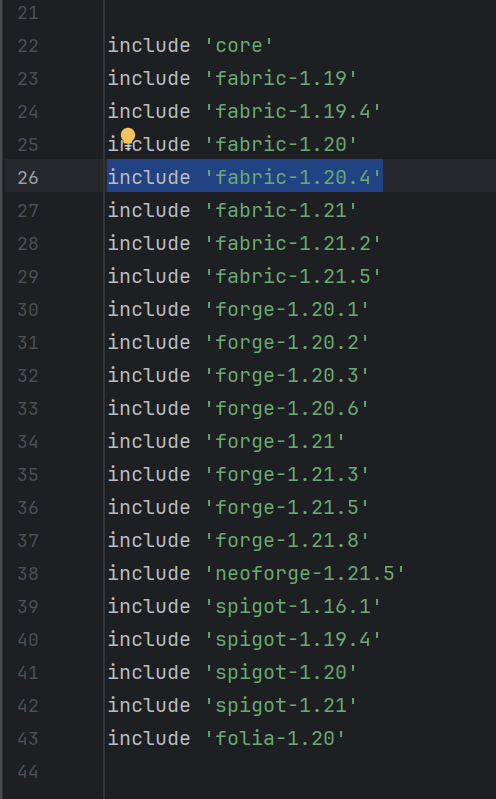
- After creating the module, you need to add the new module's name to the
platformModuleslist of the corresponding server in thesettings.gradlefile at the root directory. To keep the file format tidy, please place the new module in the corresponding position according to the server and game version of the module.
def platformModules = [
    fabric: [
        // ...
        'fabric-1.20.4',
        // ...
    ],
    // ...
]
Copy Files
Since the adaptation code for different game versions on the same server is largely similar, before starting the adaptation, you can copy the code of a closely related already adapted game version into the folder of the new module.
Choose a game version that is relatively close. In this example, you can choose
fabric/fabric-1.21for copying.Delete all files under the new module, then paste the files that were just copied.
Note
Do not directly paste the files into the new module because doing so will retain the test directory under the src folder, which we do not need.
Of course, you can also paste directly and then manually delete the test directory.
Install Dependencies for the New Module
- Open the
gradle.propertiesfile under the new module. This file is used to store version information such as the server version and game version. When downloading dependencies for the new module, this file's information will be referenced, so please fill it in carefully.
In this example, since the adaptation is for Fabric, and the Fabric official website provides information on all versions, we only need to check the official website and copy the relevant information into this file.
baseName=opanel-fabric-1.20.4
minecraft_version=1.20.4
yarn_mappings=1.20.4+build.3
fabric_loader_version=0.16.14
fabric_api_version=0.97.3
INFO
Below are the ways to query version information for different servers:
- After modifying
gradle.properties, you can click "Sync All Gradle Projects" to download and install the dependencies.
TIP
Gradle synchronization takes a long time, during which you can do something else.
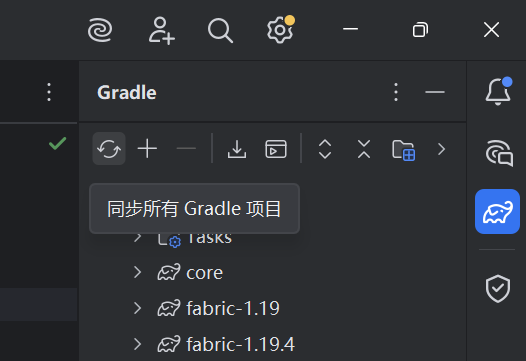
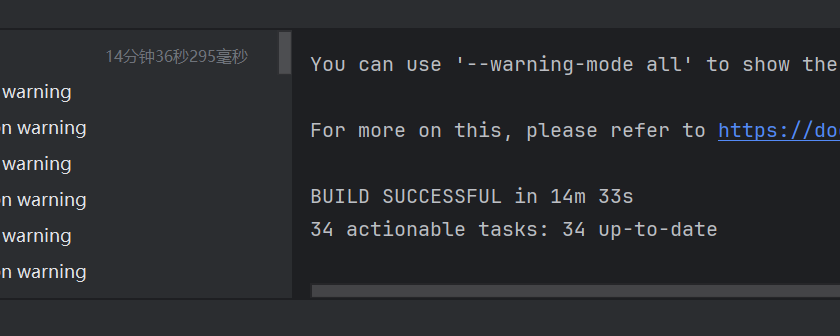
Seeing BUILD SUCCESSFUL in ... means the synchronization was successful.
Start Adaptation
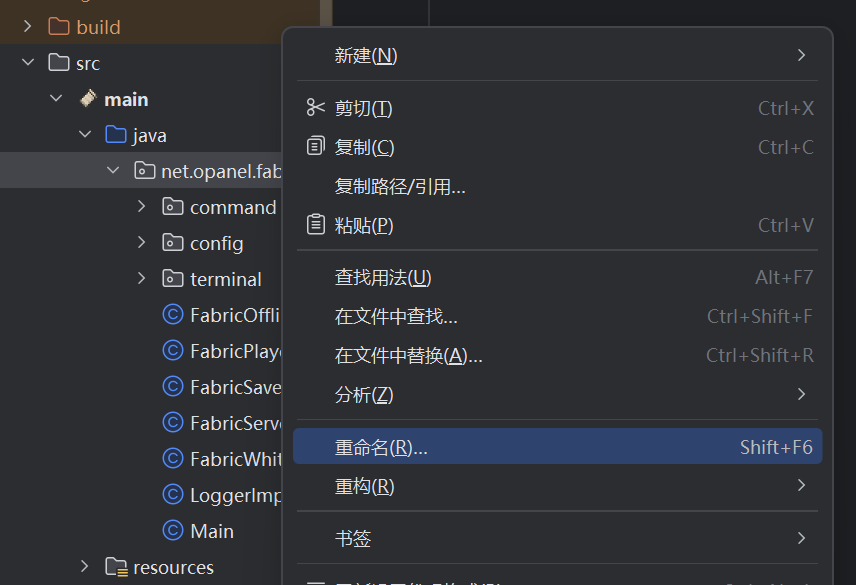
Modify Package Name
- Open the new module, right-click the package, and click Rename.
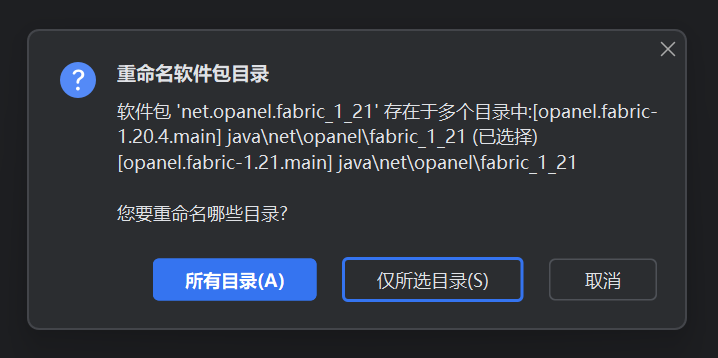
- Select
Selected folders only (S).
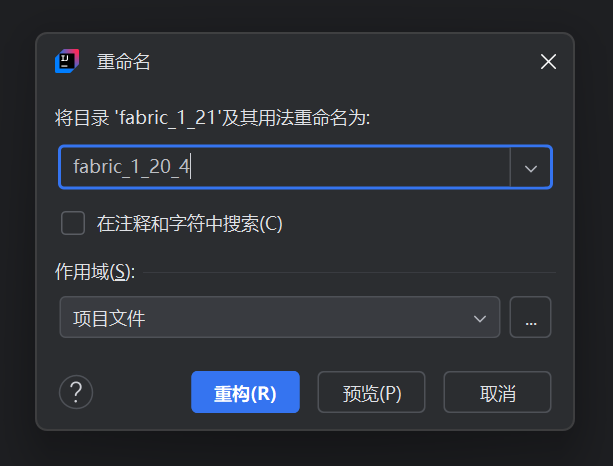
- Modify the package name to match the corresponding version number format, then click
Refactor (R).
Modify the Code
Modify the code in the new module to adapt it to this version. The implementation of the same functionality may differ across different versions, and the IDE usually indicates the differences through errors.
Build Code
Modify the code according to the above steps until the IDE no longer shows any error prompts, then you can try to build the code. Click on the Gradle section in the right sidebar, find the build task for the corresponding module, and double-click to run it.
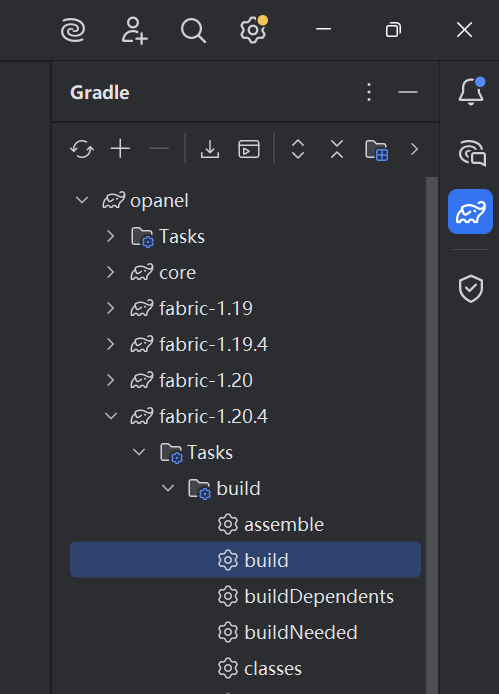
Since the server may have been modified across different game versions, it may cause the build to fail even if there are no errors reported in the IDE. In this case, you need to find a way to resolve the build errors and keep trying until the code builds successfully.
Test
If the code is built successfully, the jar file for the version you adapted will be generated in the /build/libs folder. Then, you can follow the steps in the Contributing Guidelines to test OPanel.
Note
Even if the IDE does not report any errors and the code builds successfully, other issues may still occur during testing (such as runtime errors, features not working, etc.), so testing should be carried out carefully.